
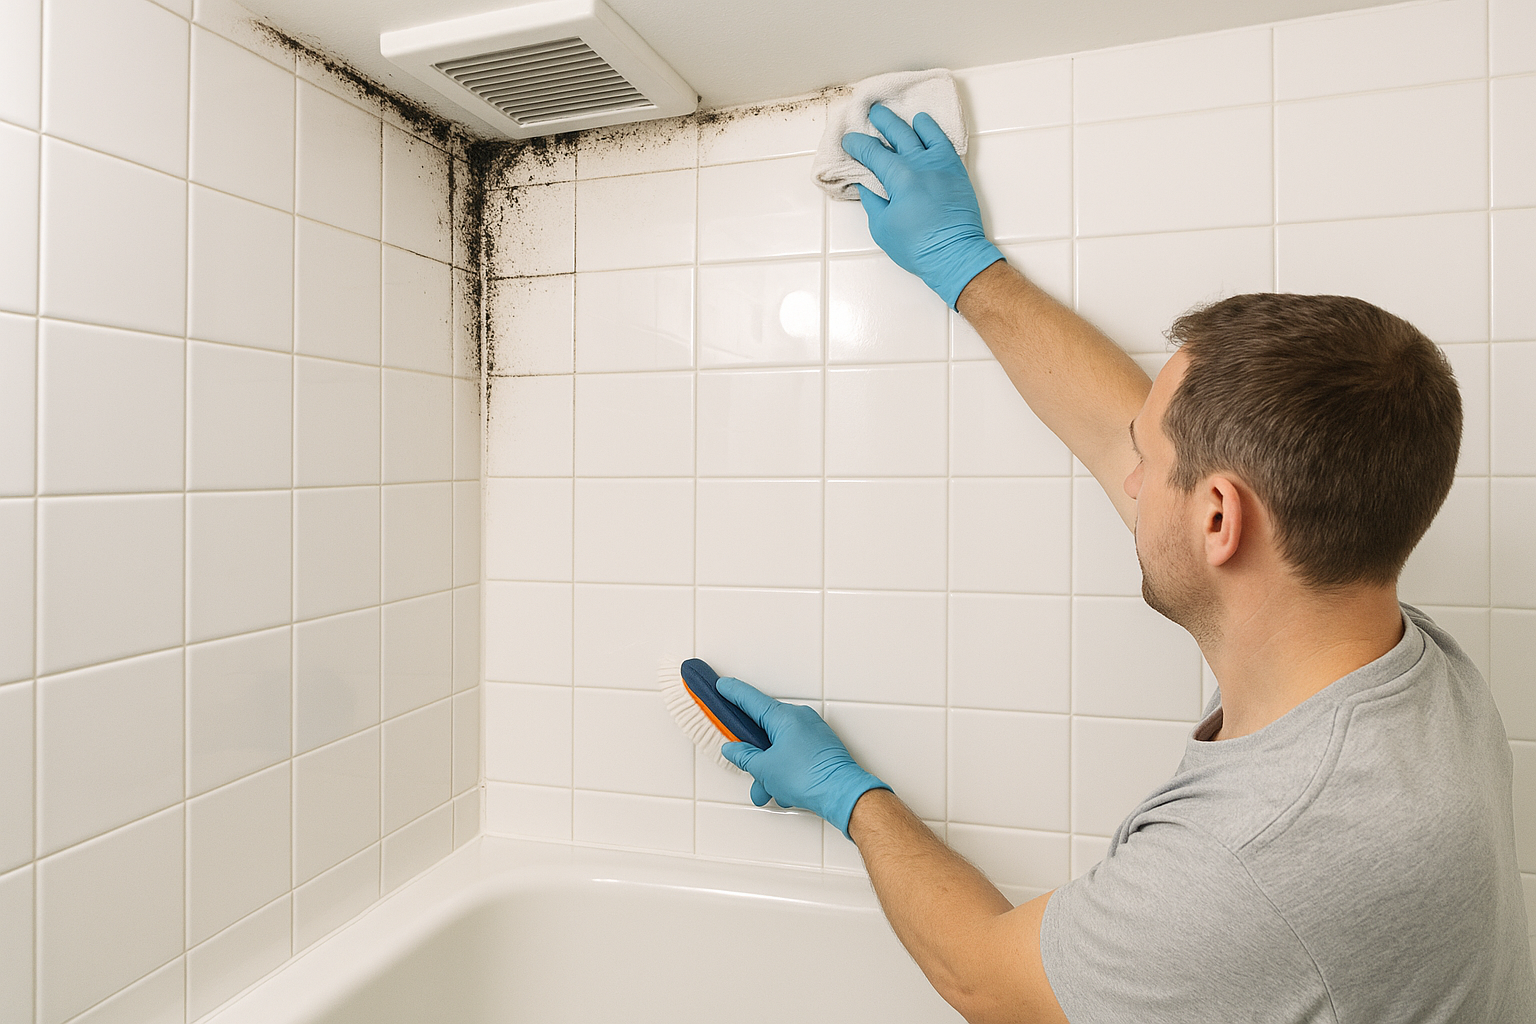
Why bathrooms and kitchens grow mold
Two different moisture stories share the same rooms. The first is humidity: every shower, bath, and pot of pasta pumps warm water vapor into the air. In a drafty old house some of that escaped on its own; in a modern, well-sealed Grand Rapids home, it stays put unless a fan moves it outside. When it can't escape, it condenses on the coolest surfaces — the ceiling above the shower, the grout lines, the window, the corner where an exterior wall meets the ceiling — and feeds the speckled pink, black, and gray growth you see creeping along the caulk.
The second story is leaks. A slow drip from a supply line, a drain, a worn wax ring under the toilet, or a failed sink caulk line keeps the cabinet floor, subfloor, or wall cavity damp around the clock. This is the more serious version, because it's hidden — by the time the cabinet bottom is soft or a stain appears on the ceiling below, mold has usually been growing in the dark for a while.
Surface mildew vs. a real problem
Not every dark spot needs a remediation crew. Surface mildew on grout, caulk, or a painted ceiling — the kind that wipes off and is driven purely by humidity — is often a clean-and-ventilate fix you can handle yourself. The line gets crossed when:
- Mold keeps returning within days of cleaning (the moisture source isn't fixed).
- Drywall is soft, stained, or crumbling — meaning it's wet inside, not just on the surface.
- There's a musty smell with no visible source, pointing to a hidden leak in a wall or cabinet.
- The vanity floor or subfloor is spongy, or the ceiling below the bathroom is stained.
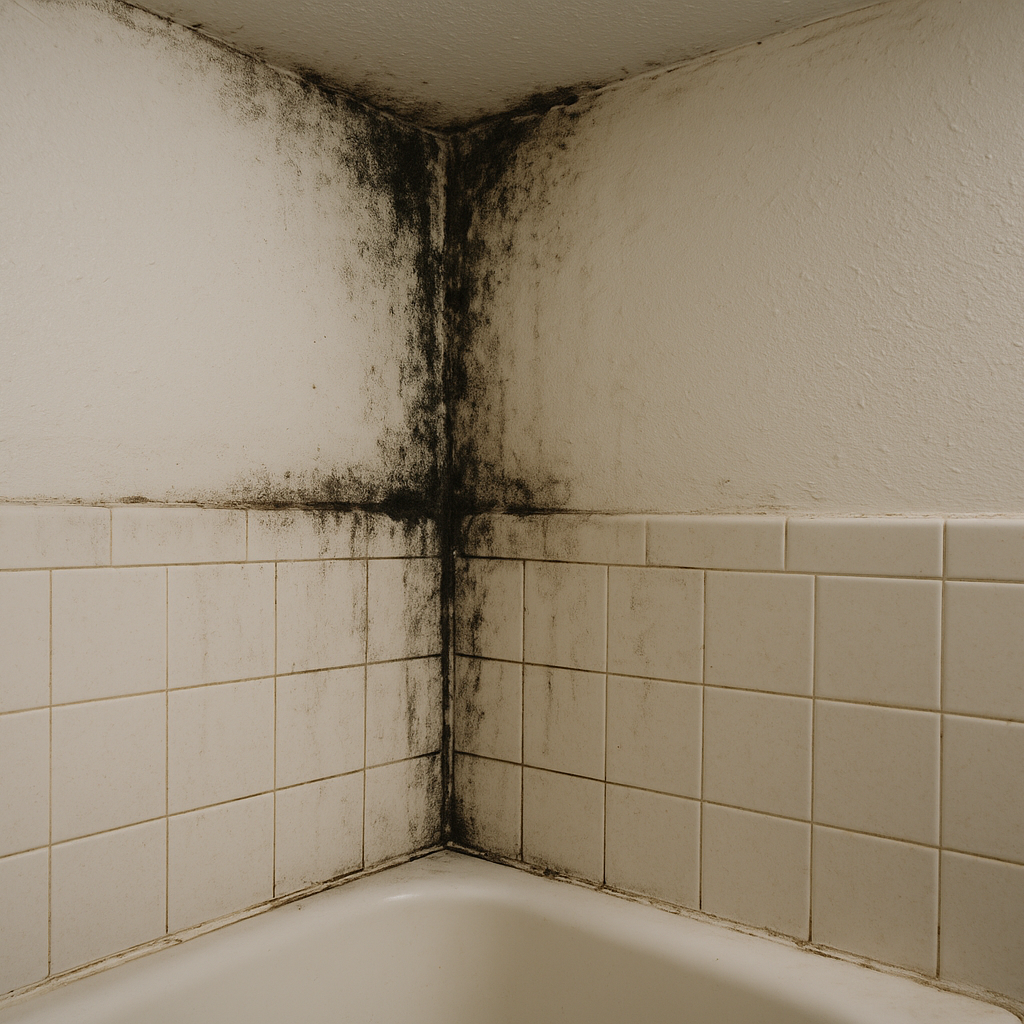
Humidity-driven mold above a poorly vented shower.
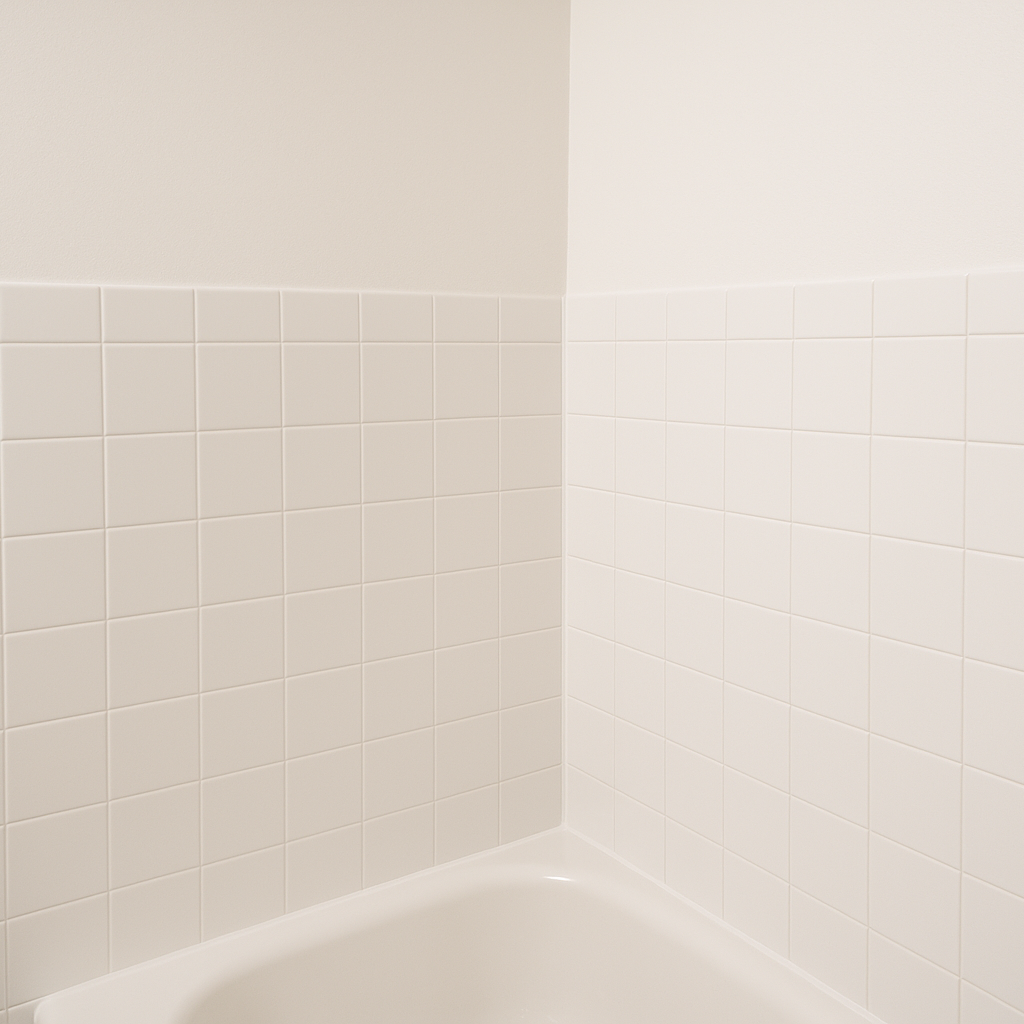
Cleaned, repainted, and properly ventilated.
How the pros handle it
- Find the moisture. Humidity-only or an actual leak? Moisture meters and a look behind the vanity and below the room settle it.
- Contain if needed. For wall or ceiling demolition, the area is sealed so spores don't spread to the rest of the house.
- Remove affected materials. Soft drywall, swollen vanity bases, and moldy caulk are removed rather than painted over.
- Fix the source. Repair the supply line, drain, or wax ring; correct failed caulk and grout.
- Dry, treat, and rebuild. Dry to a verified moisture content, apply an antimicrobial, and rebuild with moisture-tolerant materials.
- Fix the ventilation. A properly sized exhaust fan vented outside — not into the attic — run on a timer, so the humidity actually leaves.
The fan is the prevention. A correctly sized bath fan, vented to the exterior and left running 20–30 minutes after a shower, prevents the great majority of bathroom mold. If yours is missing, undersized, or vents into the attic, fixing it is the highest-value step you can take.
What bathroom and kitchen mold removal costs
Surface cleaning and a fan upgrade is a low-cost fix. Once you're removing wet drywall, repairing a leak, and rebuilding a vanity wall or a section of subfloor, you're typically into the four figures, more if the leak reached the room below or there's a subfloor to replace. The hidden leaks cost more than the humidity problems because of what they soak on the way down. Our estimator gives a quick range.
Don't let a small leak travel
The reason to deal with bathroom and kitchen mold promptly isn't the visible patch — it's where the water goes next. A bathroom leak on an upper floor becomes a ceiling stain, then mold in the ceiling cavity, then a problem in the room below. If you've got a musty smell, a soft cabinet floor, or mold that won't stay gone, get an inspection to find the source, then tell us what's happening and we'll connect you with a licensed Grand Rapids pro for a free quote.
Where bathroom mold really lives
The black spotting in the grout and along the ceiling is the part you see, but bathroom mold often runs deeper. Behind tile that's lost its waterproofing, under vinyl flooring at the base of the toilet, inside the wall cavity below a window that sweats all winter, and in the drywall around a tub surround that was never properly sealed — these hidden pockets are where a small cosmetic problem becomes a structural one. In Grand Rapids, where bathrooms stay closed up and humid through months of cold weather, those cavities rarely get a chance to dry.
Surface cleaning versus real remediation
If the mold is limited to grout lines and silicone caulk on a well-sealed surface, a homeowner can often clean it and reseal. The line gets crossed when mold has reached porous material — drywall, the paper backing behind tile, a wood subfloor, or trim — or when it keeps returning no matter how often you scrub. At that point a pro removes the affected material, finds and fixes the moisture source (a failed wax ring, a leaking supply line, a tub surround with no waterproof membrane, an exhaust fan that doesn't move enough air), dries the cavity, and rebuilds with moisture-resistant materials. Cleaning the surface while the wall behind it stays wet just resets the clock.
Ventilation: the cheapest prevention there is
Most recurring bathroom mold traces back to a fan that's undersized, vented into the attic, or simply never used. A properly sized exhaust fan ducted to the outside, run during a shower and for twenty minutes after, pulls the moisture out before it can settle into grout and drywall. Pair that with caulk and grout kept in good repair and an eye on any window that condenses in winter, and a Grand Rapids bathroom stays clean between deep cleanings instead of growing the same black ring month after month.